Can I use my LED grow light for Red Light Therapy?
If you’re not familiar with red light therapy, let’s get you up to speed. Here’s a quick overview from Google
Where Innovation Meets Cultivation
What novice grower doesn’t love the idea of a grow tent kit? Home growing can be an intimidating hobby for first-timers. Temperature control, light intensity and footprint, ventilation . . . there are so many calculations to make. So many factors to weigh and balance.
A grow tent kit takes the guesswork out of assembling your grow equipment. Complete kits include items that are compatible and optimized for successful indoor growing.
With a grow tent kit, you’re able to learn the complex techniques behind cultivation gradually. Your odds of success on the first grow increase, and your risk of wasting money on the wrong products decreases.
Despite these benefits, purchasing and assembling a kit isn’t a total breeze. As with any new project, there is a learning curve.
Not to worry. We’ve got you all set with our ultimate grow tent kit guide. We’re about to explain what to expect from a kit, how to select the right one, and how to put it all together.
A grow tent is different from a grow tent kit. When you buy a grow tent, you only get the tent itself. A grow tent kit, on the other hand, includes the tent and all the components you need to grow in that specific tent.
The actual contents of a kit may vary, but most include grow equipment such as:
You can also purchase a grow tent kit that includes grow lights. As lighting is a particularly intimidating area for many new growers, a kit that comes with a light can really feel like a load off your mind.
However, a grow light can make or break your chances at a successful first crop. So don’t just accept whatever light comes with the kit. Take the time to research different types of grow lights as well as individual manufacturers. Don’t buy an HID or LED grow tent kit that includes a sub-par grow light.
Also bear in mind that some retailers create a customized grow tent kit for you. All you have to do is let them know your priorities and preferred brands, and they’ll put together a kit that works.
So, what should you look for in a grow tent kit?
The answer depends on a number of considerations. Before you shop for a grow tent package, ask yourself these important questions.
Tent size varies widely. You can find an enclosure as small as 2’ x 2’ and as large as 10’ x 20’. Don’t forget to factor in height as well.
And remember that your ideal tent height is determined by more than just the available multilevel space in the room and your own height. Find out the ideal hanging height of your chosen grow lights as well as the height of your plants in your preferred containers.
Do you plant to cultivate in soil? Cocoa? Will you need a hydroponic system? Aeroponic? The method you select influences the grow equipment you require in a grow tent kit.
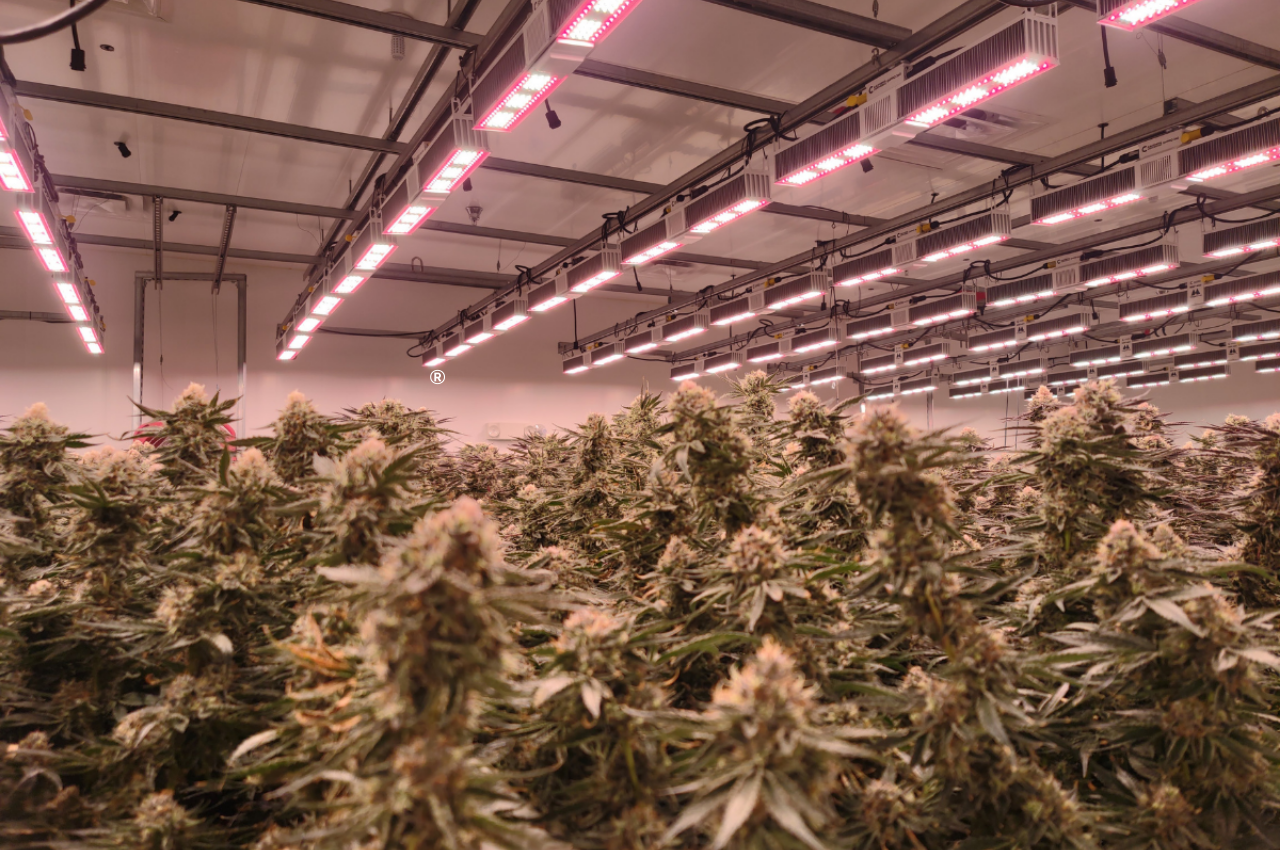
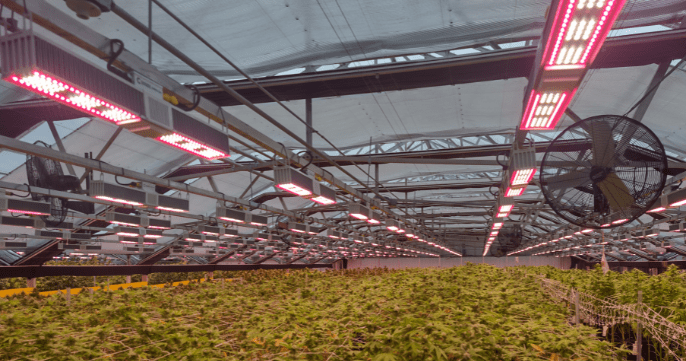
The most common grow light options for tent growing include:
Take some time to research each option before you start looking for a grow tent kit. Your lighting selection influences your grow space in several different ways.
You need to get a tent that is the proper height for your lights. You may need additional components to power your lights if you choose HID or CMH bulbs. Your ventilation and cooling needs are different depending on whether you go with LEDs or HID/CMH lights. (LED grow lights emit far less heat.)
As you consider your options, you can learn about using LED lights for home grows on our blog.
Grow tent kits can cost upwards of $4,000, so it’s a good idea to set your price limits upfront.
Remember to take operational costs into account. This is yet another area where your lighting choice deserves some extra thought.
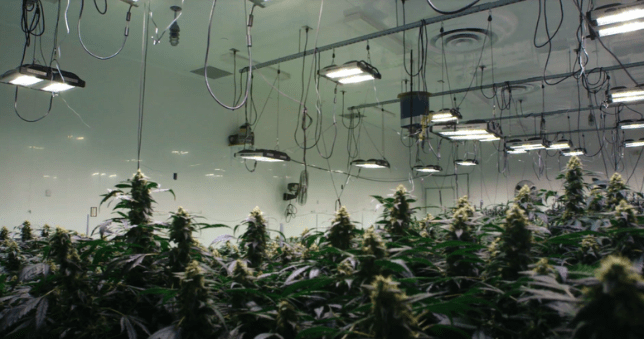
High quality LED grow lights come with a higher price tag at the time of purchase. However, their operational costs are much lower. LEDs last up to twenty times longer than HID bulbs and consume half the energy. They also cut down on your cooling costs, as they don’t radiate nearly as much heat as CMH and HID lights.
As a grow light manufacturer, we feel very strongly about providing customer guidance, especially when it comes to something as complicated as home grows.
We’ve seen so many new growers buy the wrong lights based on bad advice. Or they were in a hurry to find something cheap and easy, then wound up with a grow light that broke after one grow cycle.
The same thing can happen if you pick any random indoor grow tent from a retailer you don’t know. Instead, work with a company who listens to your goals and needs. Ask for their insight, and let the professionals guide you toward some worthwhile options.
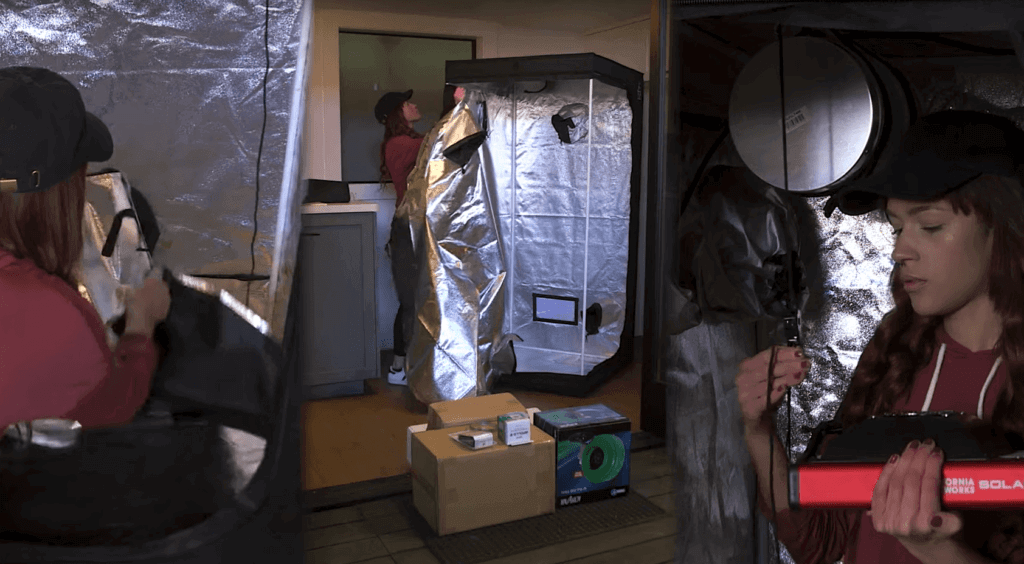
You carefully selected your grow tent kit. The package has arrived and you’re ready to get started.
Now what?
As always, the best procedure for assembling your grow tent kit depends on the specific kit you purchased. Your kit should come with instructions for safe assembly.
That said, the process of setting up a new grow tent typically looks something like this:
Even with a grow tent kit, getting started in home cultivation requires a lot of time and research. We promise you, the satisfaction of that first grow is worth it.
If there’s anything we can do to clarify your lighting options, please reach out. And if you’re interested in growing with LED lights, we recommend checking out our well-reviewed SolarXtreme series.

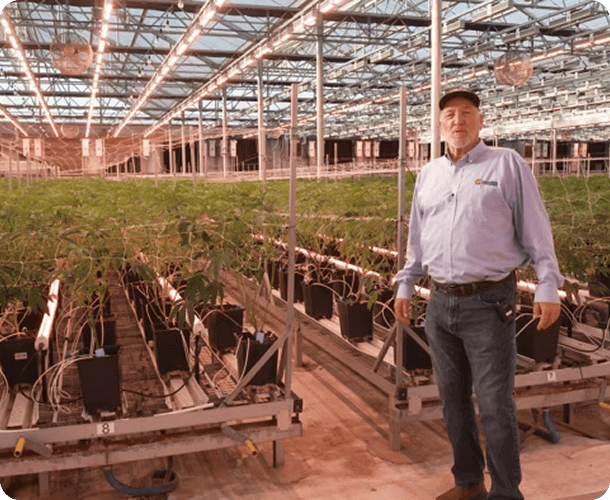
Chief Executive Officer
If you’re not familiar with red light therapy, let’s get you up to speed. Here’s a quick overview from Google
Made in California Since 2008.
Proudly made in California, California LightWorks engineers high-performance LED grow lights that deliver next-generation results for commercial and home growers alike.