So you want to start growing at home. Good call! Not only does growing at home eliminate the need to drop your hard-earned dollars at dispensaries, but it’s also a fun and fascinating hobby. Not to get too sentimental about it, but there is something fulfilling about guiding a plant from seed to flower, knowing that your careful strategy is the reason for quality buds.
That said, there is a lot of information out there on how to grow at home. The input can be overwhelming. If you’re tempted to bail, rest assured: there are easier options for first-time growers. Not to mention, advanced technology makes it easier and easier for hobbyists to grow quality buds at home. You can see this technology at work in California LightWorks’ personal LED grow light collection.
Your goal for this first grow should be to simply get familiar with the plants and their cycle. You can add in all the bells and whistles later.
For now, just focus on getting through these five simple steps for growing at home.
1. Decide Where You’re Going to Grow
Choosing your grow space is number one, because this decision informs all the decisions that follow. Every location comes with its own set of considerations—adjustments you have to make to ensure your plants are safe and able to thrive in that environment.
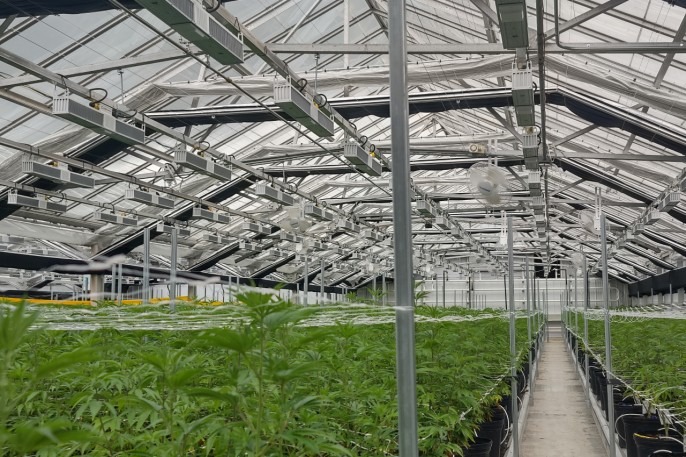
First, decide whether you want to grow inside or outside. The benefit of outside cultivation is that the setup tends to be simpler. As long as your plants can get a minimum of 12 hours of sunlight, you can have a fairly successful outdoor setup without many costs in terms of heating, cooling, lighting, and ventilation.
That said, you have much, much more control over growing conditions when you choose an indoor setup. Not to mention security risks. Depending on where you live, an outdoor setup likely makes you far more vulnerable to theft. It’s no surprise most in-home growers choose to cultivate inside.
If you do choose an indoor setup, there are a few other factors to consider. While just about any space can serve as a grow room—a closet, a garage, a bathroom, a grow tent, etc.—you do need to make sure the space is adaptable for the needs of your plants. You should be able to control the temperature of the room (70-85 degrees when plants are young; 65-80 degrees when they start budding). You need to have a way to produce some air movement, whether with stale air exhaust or a fan. And you need space and electricity for grow lights.
2. Prepare Your Setup
There are countless systems and setup combinations for growing, even in small, at-home operations. Don’t feel pressure to put together an extravagant grow room right off the bat. Stick with a simple, easy-to-maintain setup so you have a better shot at success and are at less risk for burn-out on your first attempt. You can always build out from there.
There are four important elements for the setup of the plant itself.
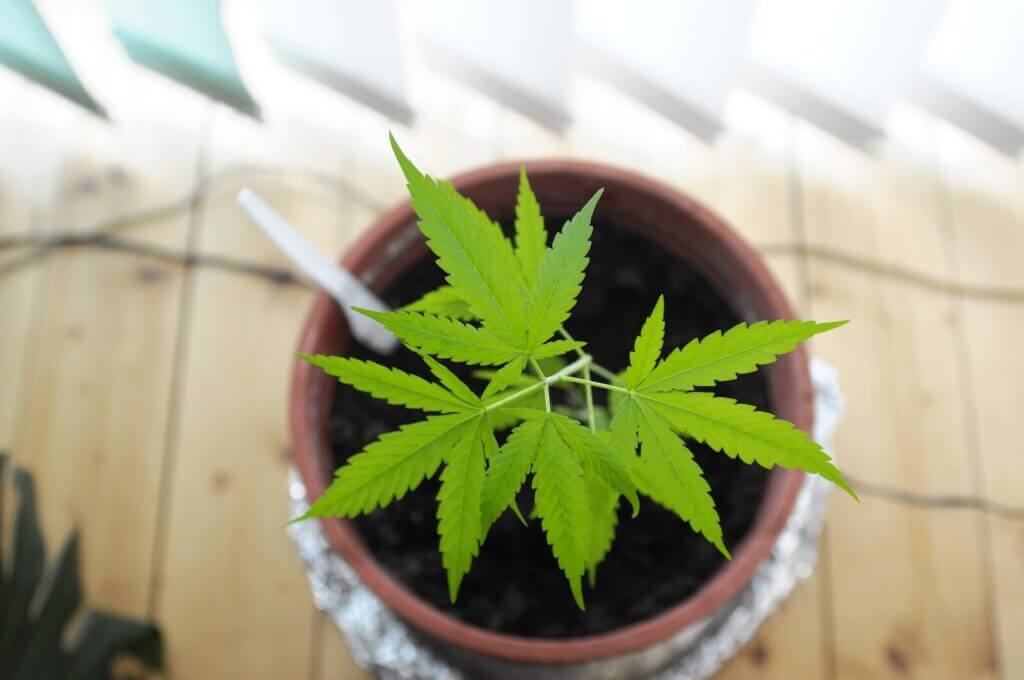
- Medium: You have a surprising amount of options for medium, including soil, a soilless mix, water (hydroponics), air (aeroponics), or even a fish tank (aquaponics). As a first-time grower, you will likely find that a soilless mix gives you the best chance at success. They feel like regular soil, so it’s a less foreign medium, and they protect against nutrient burn in case you over-feed your plants. Soil is the easiest medium to start with. You do not need to use many nutrients and the risk of failure is much lower – but yields will be smaller.
- Pot: For your first grow, stick with breathable containers arranged on a flood tray. A breathable container would be something like a fabric pot or grow bag . . . anything that allows air to reach the soilless mix or whichever medium you choose.
- Irrigation: You could get fancy with a range of automated irrigation systems. Once again, for your first grow, it’s better to start with the basics. In this case, hand watering.
- Nutrients: You “feed” your plants by watering them with minerals dissolved in purified water. This is what we mean when we talk about nutrients. As a new grower, aim to use lower doses of nutrients, as it’s always easy to add more and an overdose could cause a nutrient burn. As for selecting the type of nutrients, look for a nutrient formula designed to complement the growing medium you’ve selected.
3. Choose Your Grow Lights
For indoor growers, lighting is one of the most important decisions you will make when deciding to start growing at home. After all, you’re replicating the sun inside your home. The closer you can mimic the seasonal behaviors and light spectrum of your sun, the likelier you are to grow quality results.
For a long time, the go-to indoor grow lights were HID (high-intensity discharge) bulbs. When growers use HID lights, they typically switch bulbs for different phases of the growth cycle. MH (metal halide) lights give off a blueish light, which is optimal for the vegetative stage, and HPS (high pressure sodium) lights give of a red light that is best for flowering. Switching out the lights is a basic way to replicate the seasonal changes of the sun’s light spectrum. The advantage to HID lighting is that the bulbs themselves tend to be fairly inexpensive. However, they require a hood and ballast to operate, use quite a bit of electricity, have a relatively short lifespan, and produce a lot of heat.
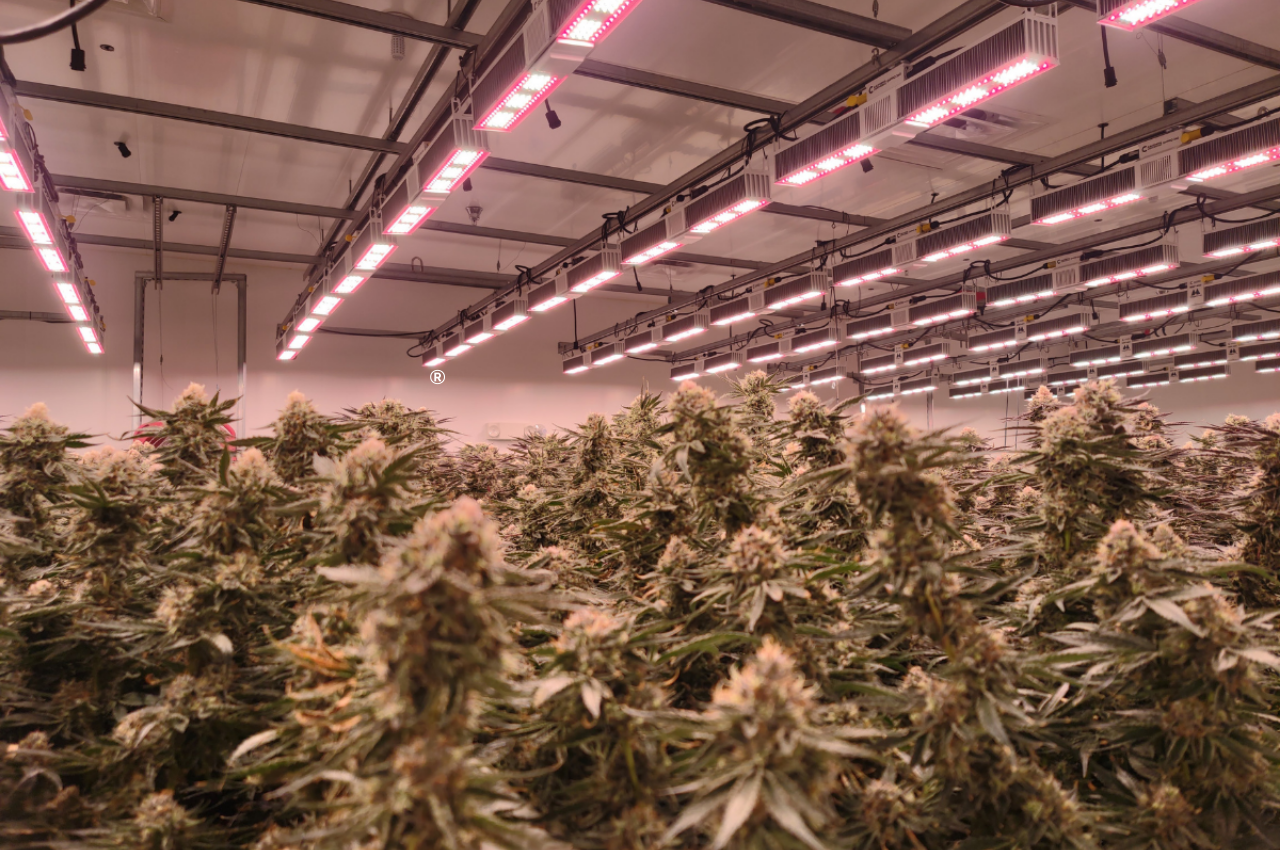
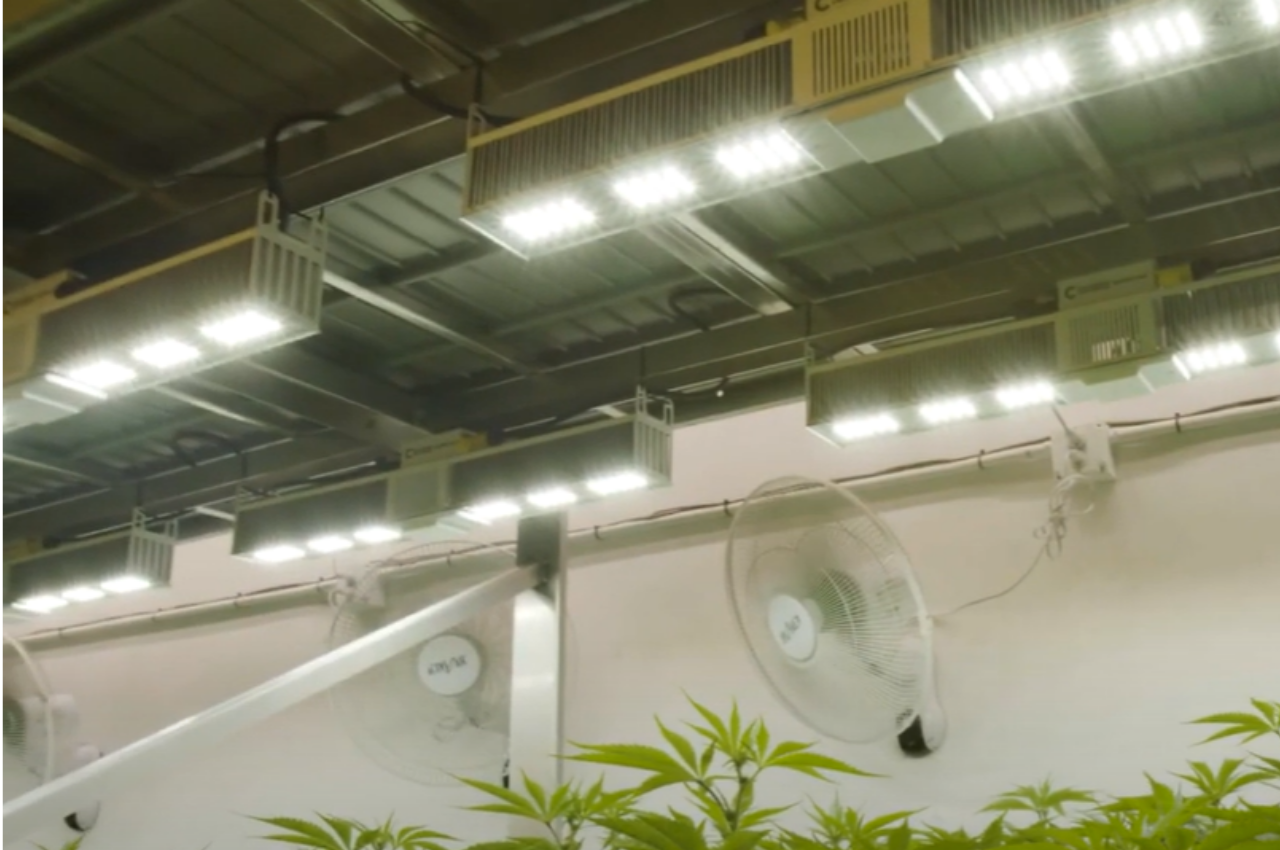
LED grow lights are becoming an increasingly popular option. For one thing, LEDs make up for all the shortcomings of HID bulbs. They are extremely energy efficient, often saving 50% or more on energy bills. They generate very little heat, which makes it easier to regulate the temperature of your grow room and may make it possible to safely position your lights closer to your plants. There has also been much more research and development in the area of LED technology in recent years, and home growers are benefitting. Now LED lights like the SolarSystem® series from California LightWorks can be customized and programmed for the exact light spectrum you need. They’re also easy to install with no extra equipment necessary, and they last as long as 15 years.
4. Find Seeds or Clones
Now that you’re all set up, how do you get your hands on the plant itself?
That depends largely on the options available to you where you live. If you know any other growers personally, your first move should be to seek out suggestions from them. Even if they can’t hook you up with a clone, they’ll likely be able to suggest a seed bank you can trust to provide quality seeds. Interestingly, if you live within the U.S., your best bet is to order from a seed bank outside the U.S. Customs laws make buying overseas far safer and less complicated than shipping seeds within the country.
If you’re lucky enough to have a local dispensary that’s cleared to sell clones, that’s the ideal scenario. If you trust your source, you know you can trust the genetics. Plus, a clone is already further along in the growth cycle, so you can worry less about getting through those delicate early days of germination.
5. Germinate and Plant
Now’s the fun part. It’s finally time to get this show on the road.
If you’re starting with seeds, you need to decide how you want to handle the germination process. You have a lot of options here, including:
- Planting seeds into your chosen medium. This can reduce your risk of transplant shock. However, it’s best to use a smaller container for the germination phase, rather than immediately placing the seeds in the larger pot you plan to use for the rest of the growth cycle.
- Germinating seeds in water. Use enzyme-enriched water for this. Soak the seeds until the tap root appears. Then place it in your medium.
- Germinating seeds on moistened paper towels. Anyone else remember this first grade science lesson? Place the seeds on a damp paper towel, place the paper towel in a warm, dark area, and be sure to keep the paper towel moist. When your seeds sprout, plant them in the pot.
- Using seedling plugs and starter cubes. These are products specifically designed for germination. They have a hole to pop your seed into, and all you have to do next is water as directed and wait for it to sprout.
If you’re working with a clone, the planting process is a little less complex, but you still want to take extra measures to prevent transplant shock. First transplant your clone into a small pot. A 2×2” container works great. Stick to pH water for irrigation, and be a little stingy with it. Over-watering can weaken the roots. Give it a couple weeks for the roots to grow strong, then repot into your regular container.
You’re on Your Way!
Of course, once your plants are settled in their new pot homes, they’ll still need more care and attention as they transition through the growth cycle. But at this point, you’ve done most of the heavy lifting by creating ideal grow conditions and taking some time to get to know the needs of your plants.
Indoor growing can seem like a major undertaking, but once you get the hang of it, you’ll find it’s a surprisingly fulfilling hobby with undeniably enjoyable end results.
To get started, we recommend checking out our hobbyist-friendly LED collection. These lights are affordable, easy to use, and take a lot of the guesswork out of optimizing growth conditions for your plants.
And if there’s anything we can do to help, drop us a line. We love helping others discover a passion for growing at home.