Can I use my LED grow light for Red Light Therapy?
If you’re not familiar with red light therapy, let’s get you up to speed. Here’s a quick overview from Google
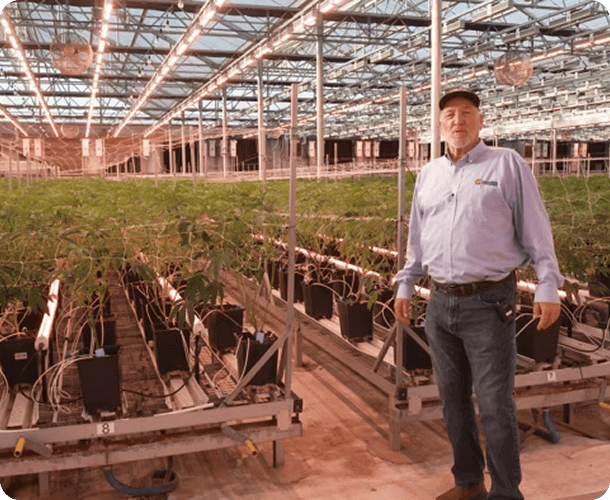
Where Innovation Meets Cultivation
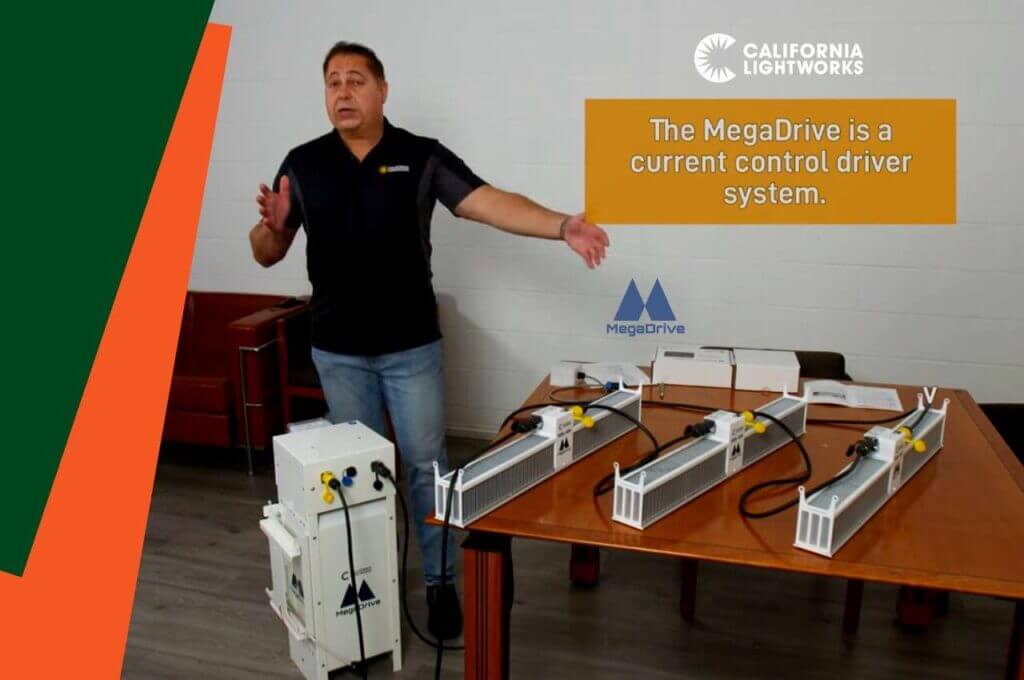
Our CEO, George Mekhtarian, recently did a great video explaining how the MegaDrive® system works, as well as how to connect and set it up. He also went step by step, walking the viewer through the proper way to perform their first power-up and system check. If you’d like to watch it, click here. This blog also covers those same topics, so keep reading for a primer on how to get MegaDrive® installed and up and running.
The heart of any LED light is the driver or the power supply, and the one on MegaDrive® is no slouch. The MDP (MegaDrive Power unit) is the first thing that gets installed, turned on, and checked for proper functionality. Here are some quick statistics about the MDP:
The top 2 reasons why drivers fail in the field are:
The MegaDrive addresses both of these issues by keeping the driver temperature low and adding the industry’s most robust surge protection.
Once the MDP is unboxed and ready to be used, here are the initial steps to follow to install it and get it ready to be connected to the fixtures:
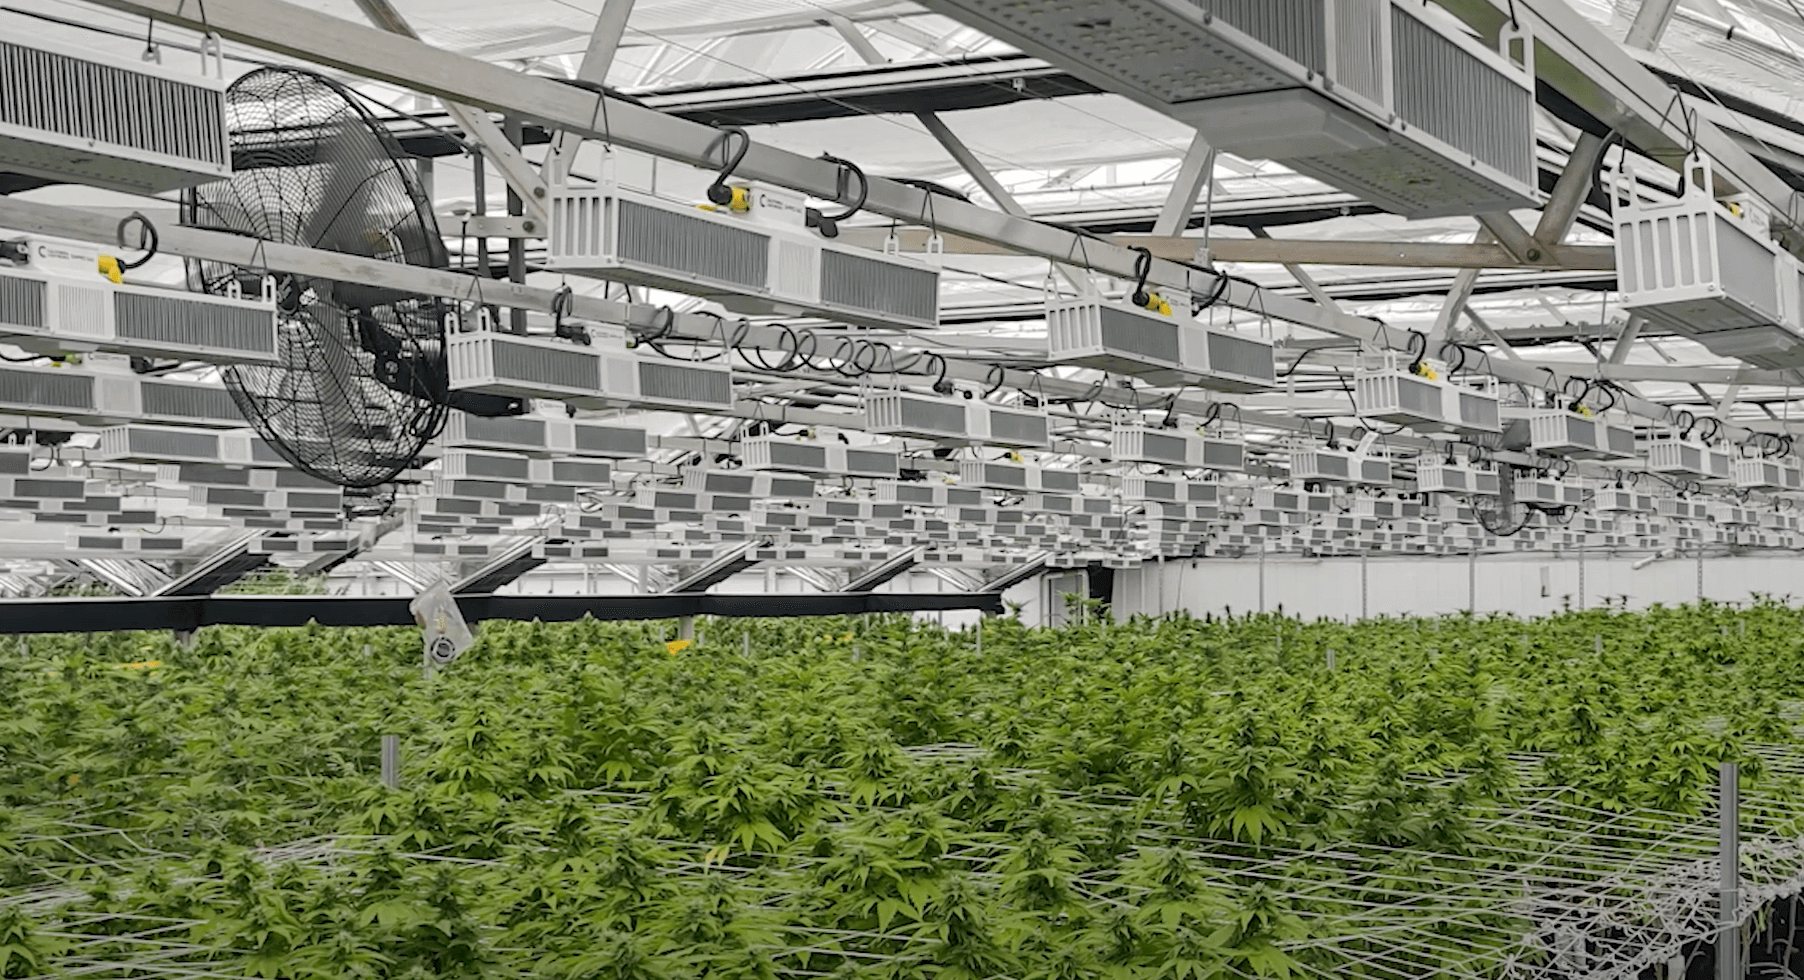
Fixtures take the power from the MDP and convert them to light. This is where the LED diodes generate huge amounts of light that nurture your crop through its lifecycle. Because all the power electronics for the MegaDrive are housed in the MDP, the fixtures are simply made out of LED light engines (LEDs mounted on metal-core PCBs) and a heat sink. By removing all the power electronics from the fixtures the MegaDrive® system offers the following benefits:
Customers who have used LEDs in the past have experienced at least some fixture failures. Even the most reliable lights have some failures. Customers who invested in low-cost fixtures have seen 100% fixture failure rates within the first 12 months. In a typical greenhouse, fixture failures are very painful as the fixtures are difficult to access over the canopy post-installation. Fixtures can easily be installed with scissor lifts when the greenhouse is empty. But once the benches are installed and plants are moved-in, replacing failed fixtures is difficult and costly.
Almost all failures in fixtures happen due to the driver. By removing the driver from the fixture, the chances of a MegaDrive fixture failure is virtually zero. And as discussed before, the MegaDrive MDPs have the highest reliability in the industry.
Custom cables are provided with every order, so the MegaDrive fixtures can be connected in series to each other as well as the MDP.
Thought should be given to how the fixtures are oriented and hung before connecting the cables. There are three ports on the left side of the MDP. The port with the black cap is your supply (positive) and should be aligned with the first fixture’s yellow connector, while the yellow capped return (negative) cable should be aligned with the cable that is connected to the black port of the last fixture in your sequence. Each fixture has a black-capped port and a yellow-capped port, the same as the MDP, with the same colors representing supply (black) and return (yellow). The cabling will be black on one end and yellow on the other. Yellow connects with yellow and black with black.
Once everything is laid out properly, the cables connecting the fixtures to each other and the MDP should be hooked up, making sure that black connects to black and yellow to yellow.
First Power Up
Once you verify that everything is properly connected (all fixtures are interconnected and supply/return cables are connected back to the MDP), it’s time for the initial system power-up.
Make sure the MDP is connected to the main power. Turn on the breaker and wait for the ammeter display to get to around 20 amps (this shouldn’t take long). The lights will immediately turn on and begin increasing in brightness until 20 amps are reached. Now that we have a powered-on system, all we need is a way to control it.
The controller is the user’s interface to the lights. It allows for on/off schedules as well as dimming and spectrum control. The middle (blue-capped) port on the left-hand side of the MDP is the controller port. The MDP can be controlled in many ways:
The MegaDrive LED system by California LightWorks is a unique patented lighting system that is revolutionizing the grow light industry. By chaining together the fixtures and eliminating all power drops over the canopy, a lot of time and money is saved. Plus the world-class reliability of the system means you never have to reach over the canopy to replace another failed light fixture again!
If you’re interested in learning more about MegaDrive®, feel free to drop us a line here or visit the MegaDrive® page on our website.


If you’re not familiar with red light therapy, let’s get you up to speed. Here’s a quick overview from Google
Made in California Since 2008.
Proudly made in California, California LightWorks engineers high-performance LED grow lights that deliver next-generation results for commercial and home growers alike.